Overview Of Ableton Live Warp Modes

The Ableton Live warp modes available are instruments in themselves.
If you're working with stem files for your remix, vocal recordings, bounced files of your instruments, or just a master track audio file, then the warp mode you select is going to be incredibly important. When warped, it will shape the entire sound to either accurately time-stretched gloriousness with minimal artifacts, or at the other extreme, glitchy beyond recognition. Each warp mode is perfect for its specific uses and if you're using Ableton Live 9 or later, all of these modes should be available to you. If you're using an earlier version, all except Complex Pro will be there.
Beats (default warp mode)
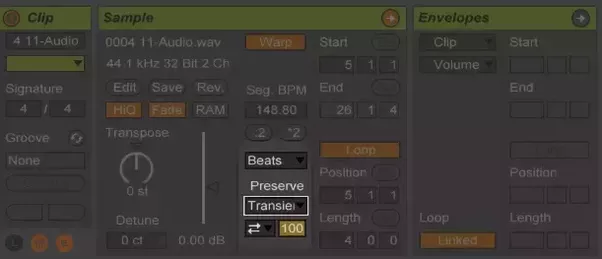
If you haven't changed this, then each audio file you've warp is going to start becoming glitch as you change the tempo or other attributes of the sample. The "Preserve" below the warp mode allows you to select how to shape the beat transients. In short: what rhythmic artifacts are you trying to emphasize? You can warp to the beat, the 16th note, to the bar, etc. Or you can use Transients to shape at a granular level. It will loop over the audio file transients to recreate the most accurate sound of the original file.
To get interesting drum loop effects, change the Preserve to a smaller beat value like 1/8 or 1/16 notes. I've got some tight rhythmic effects from that.
Beats mode is perfect for drum tracks, or other kinds of rhythms, but if you're using melodic stem files or a master track that you're trying to preserve characteristics from, you're not going to want to use beats mode.
Tones
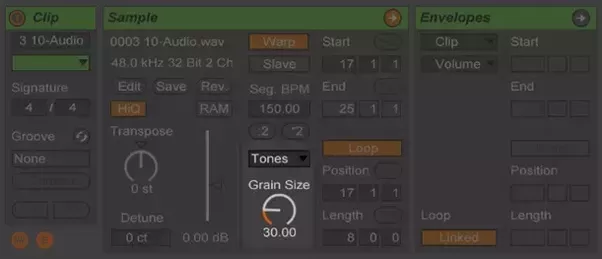
The Tones warp mode is ideal for anything with a clear pitch like vocals, lead guitar, bass lines, etc. You're looking for dominate melodic or harmonic note structures that don't emphasize rhythm.
You can adjust the Grain Size to shorter or larger settings. Basically, the grain size is how the audio file is broken up into tiny parts to warp it. Adjust this until it sounds right.
Texture
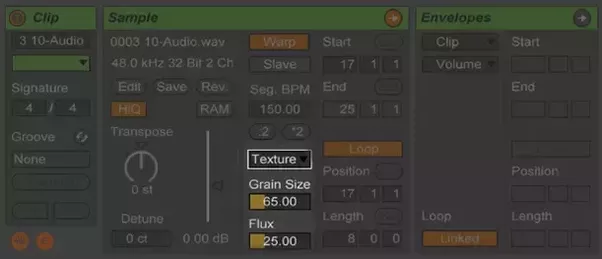
This is one of my favorite warp modes for creating experimental results. Texture mode plays off of the Grain Size warp structure in Tones and adds the Flux parameter. Texture warp mode is ideal for anything that doesn't have complex melodic or pitch properties, like pads or ambient sounds, and stretching sounds effects or other records that may not be obviously musical in nature. Playing with the Flux parameter can help you create some very interesting atmospheric and ambient sounds.
Re-Pitch
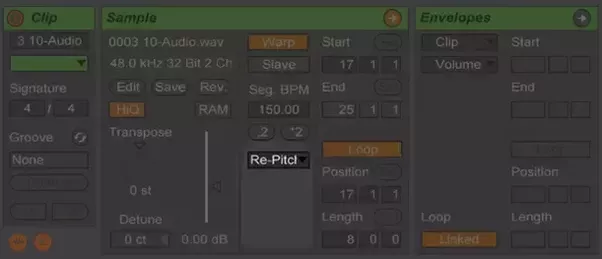
Re-Pitch Warp mode is essentially a turntable. It speeds up or slows down the transients to match the global tempo in your project. Basically this is the old school way DJs worked with vinyl to get their beats and Ableton is recreating that here. If you trying to preserve pitches and notes don't use this mode. It's a great choice for drums though.
Complex & Complex Pro
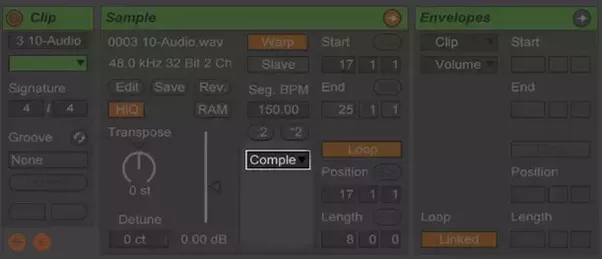
This is the ideal mode for warping entire song files or other complex audio. Complex is the most CPU intensive out of all warp modes as it is trying to preserve all of the rhythmic and tonal qualities of the audio file.

Complex Pro warp mode piggybacks off of Complex by adding the Format and Envelope parameters. Formats adjust the extent of compensation to the sample when transposing. Envelope adjusts spectral qualities of the file. Ableton recommends the default value of 128 for most audio and trying lower values for samples with higher pitched ranges and vice versa for lower sonic ranges.
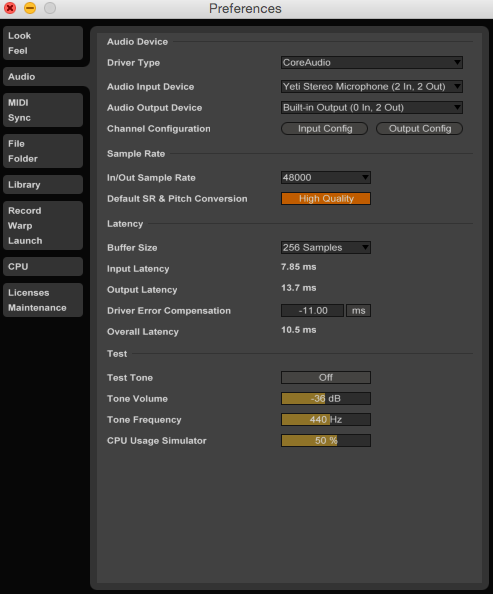
Preferences
Lastly, make sure you have high quality conversion mode enabled in each clip that you're warping (the HiQ button located in the Sample pane). You can set your preferences to do it for you by default here:
Play around with all of Ableton Live's warp modes. You can get some very interesting results that may help get you out of a creative block. One of my favorite tricks is resampling the warping with effects, and then warp the new sample in a different warp mode.

